I have officially embarked on a homelab journey and will be sharing here what I learn and do as I progress🥳 It’s been a long time coming! Having a homelab will be super useful for me in order to do larger, more advanced experiments with bare metal Kubernetes. I have also been interested for some time in self-hosting some of the tools and services that I’m using. So it’s a win-win!
When it comes to hardware I’m first and foremost interested in buying what’s been used instead of buying new. Both from the perspective of recycling but also from the cost perspective, especially in the beginning of the journey. I can always upgrade later as my set up and needs evolve.
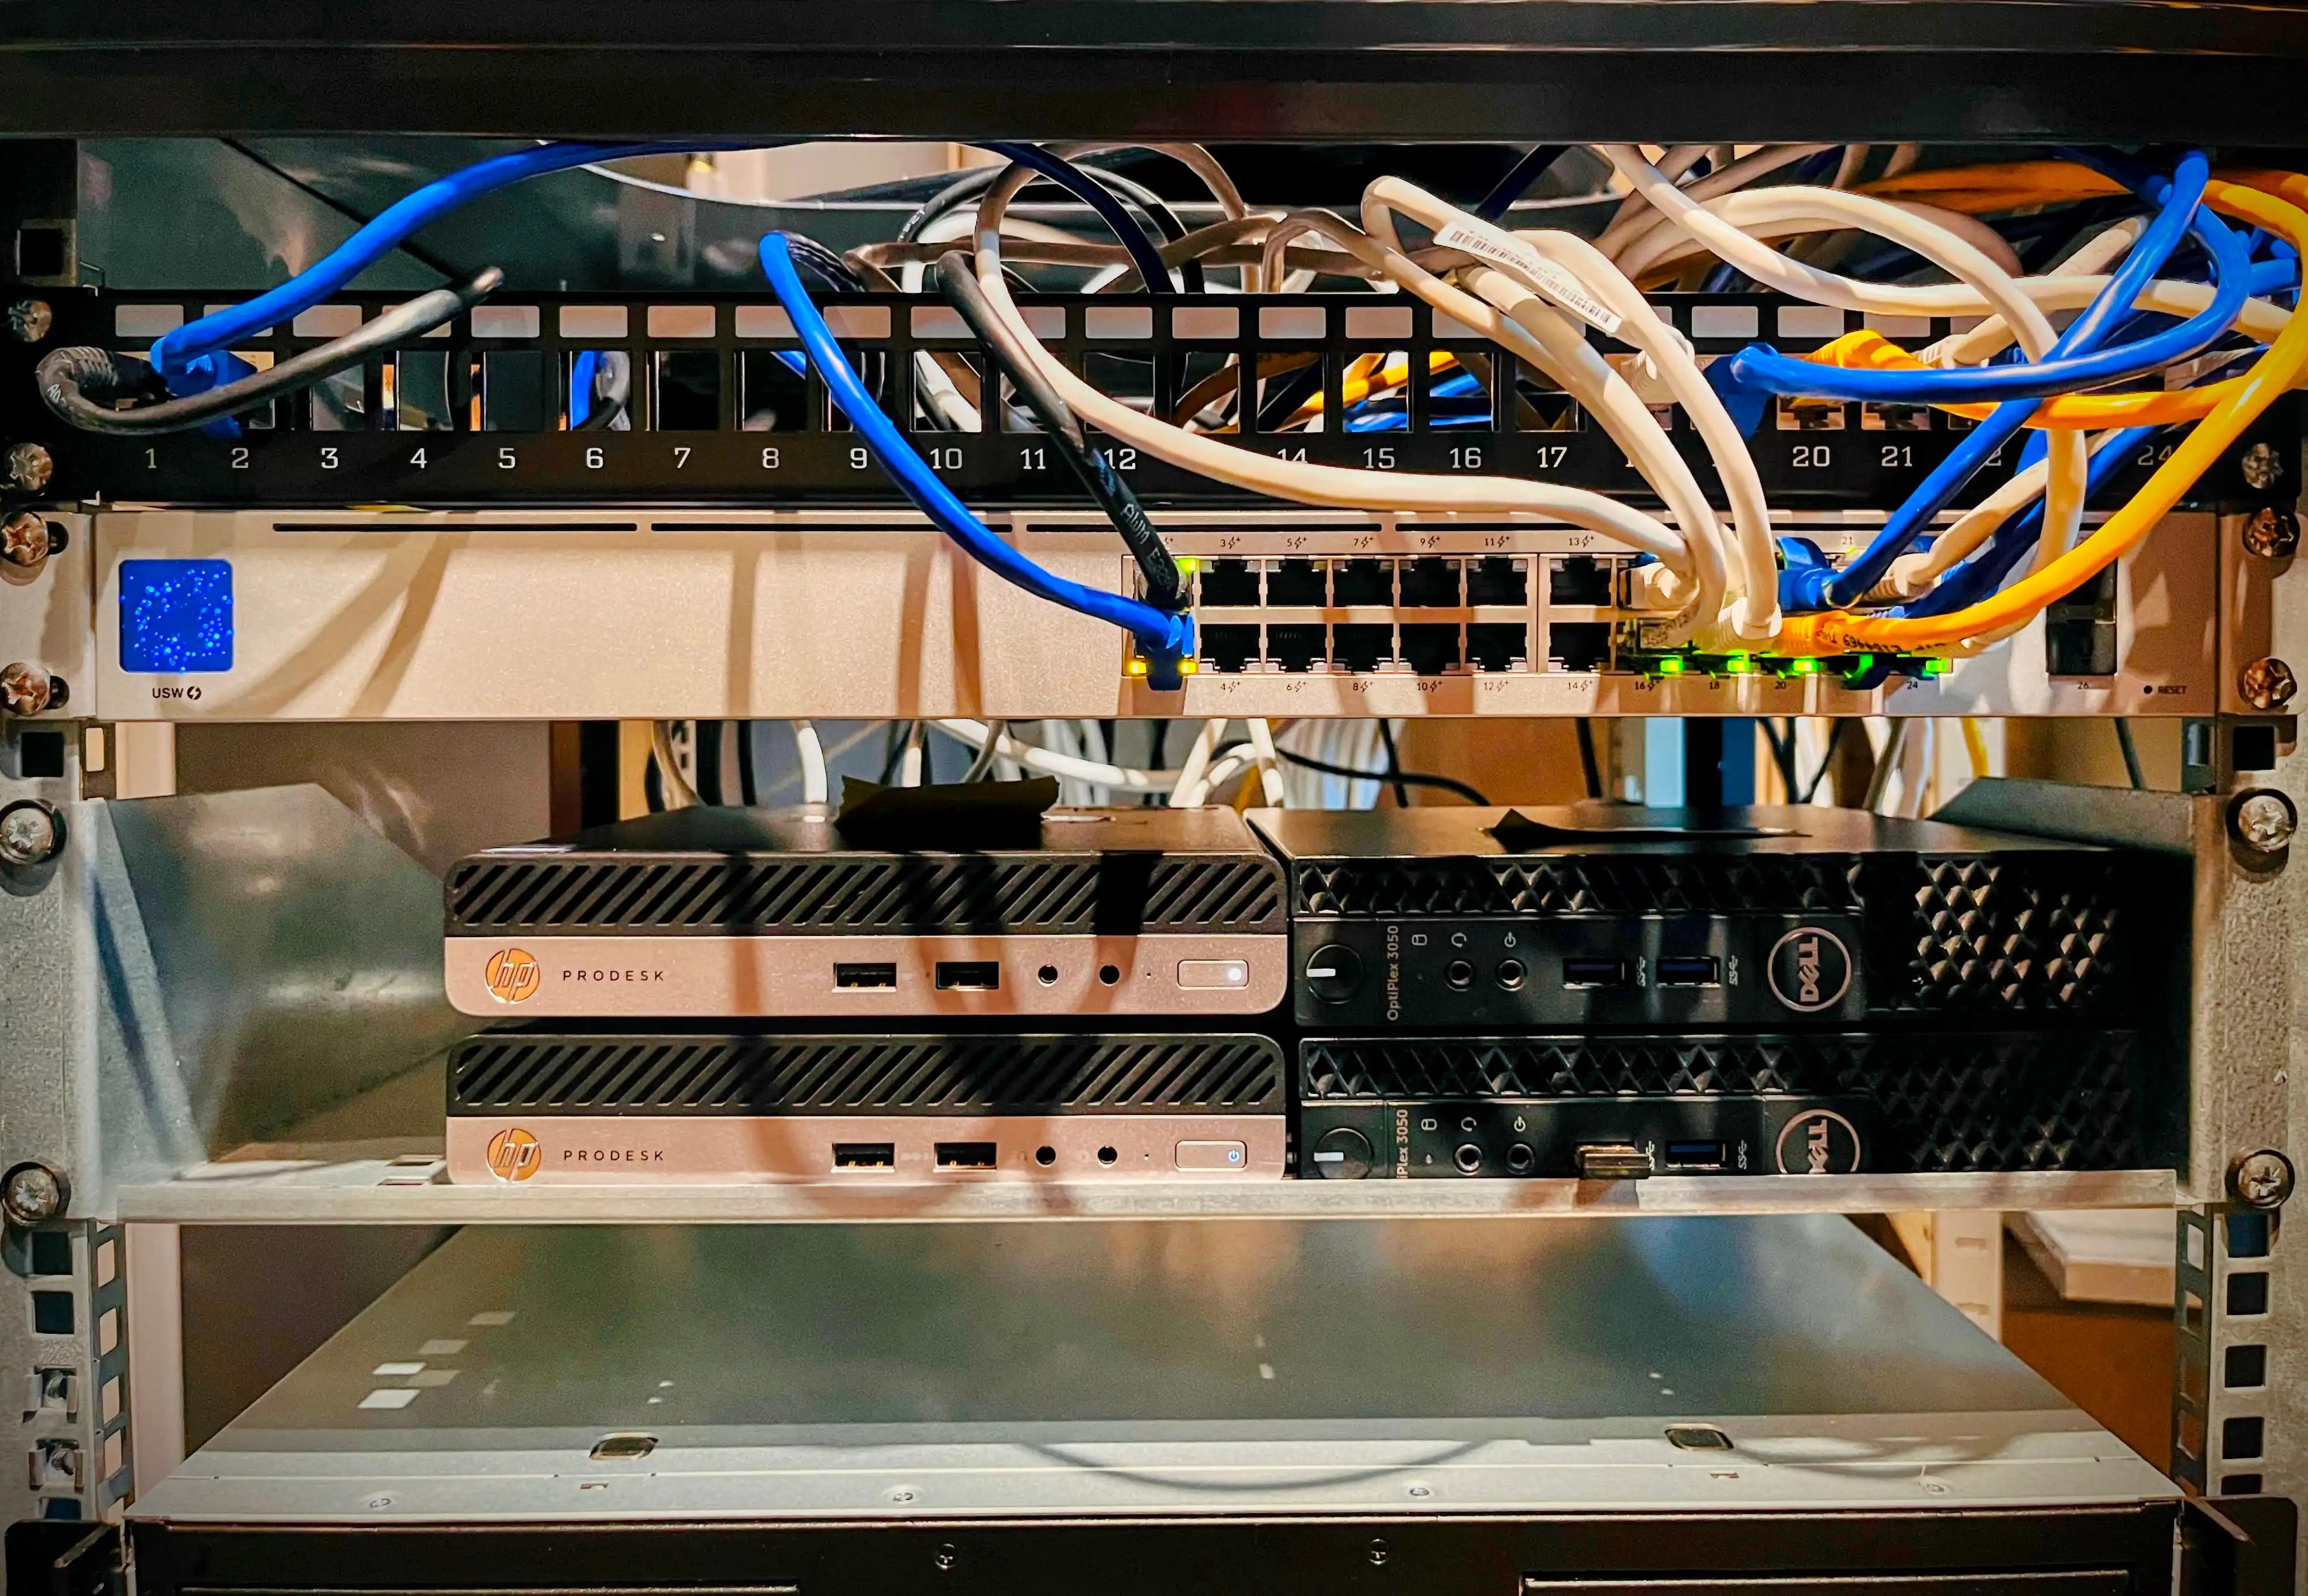
In Norway we have a website where folks sell stuff they don’t need so I was lucky to snatch Dell OptiPlex 3050 - 4 cores and currently with 12GB RAM, but I’ll be upgrading it to 16GB RAM once I get an 8GB RAM piece delivered.
I was also lucky enough to snatch 2 pieces of HP ProDesk 400 with 4 cores and 16GB RAM from a place that was getting rid of some unused electronics. All in all, off to a good start!😼
Preparation
The plan is to use Proxmox on all of these servers. Proxmox is a quite popular, open source server virtualization platform on those. I started out by burning Proxmox ISO to a USB stick - with many years of work in Windows I got used to using Rufus for doing just that, but since I’m using Ubuntu on my home PC it was a new experience to do that with Linux dd command. I gotta say that Linux ArchWiki came truly handy in here to fully understand all the nuances😅
I also did a BIOS upgrade and validation of BIOS settings on all servers to ensure that virtualization options, like VT-x/VT-d in case of Intel, are enabled. An interesting thing that happened was that on one of the servers Proxmox wasn’t able to identify an SSD due to the SATA controller mode in the BIOS that was set to RAID instead of AHCI. Devil’s in the details🎃
HP servers also had BitLocker-encrypted drives so I wiped those with help of both diskpart and HP’s Secure Erase tool in BIOS.
Installation of Proxmox
Installation of Proxmox itself was pretty much straightforward, starting with most of the default settings. What I modified was mainly the host name, login information, and the configuration to create a static IP address for every server in the router so that it doesn’t change unexpectedly if one of the servers goes offline for instance.
I got a lot of inspiration from the Jim’s Garage YouTube video about Proxmox - I can definitely recommend to check it out if you’re on the lookout for a Proxmox walkthrough.
Finally, once all of the servers were ready it was time to put them into the server rack, connect to the central power unit and network switch and that’s it for this step!
As you can see from the picture below, there’s still some cable management that needs to be done here, and I’m still waiting for some of the tools to proceed with that so for now it’s a work in progress 😇
Next step is to get some VMs and containers up and running plus have some more advanced Proxmox configuration and backup in place so stay tuned for future posts on this.
P.S. I’m also starting meme of the day series and today’s the one I can totally relate to🤣 Source

That’s it from me this time, thanks for checking in!
Stay secure, stay safe. Till we connect again!😼